
Creating a Game Account & Getting Started
A step-by-step guide to installing LIVE RUSSIA, creating an account and character, choosing a server, transferring an old account, and entering the game for the first time.
Updated: 15.09.26How to Create a Game Account & Start Playing
Updated as of 15.09.2026LIVE RUSSIA uses a unified account system that lets players sign in, create characters, choose servers, and manage sign-in methods.
This guide walks through installing the game on Android, creating an account, creating a new character, choosing a server, transferring an account from the old system, and entering the game for the first time.
1. Downloading LIVE RUSSIA
On Android, the game can be installed in three ways:
APK file — download the APK from the official website .
RuStore — open LIVE RUSSIA in RuStore .
2. Creating an Account
After installing and launching the game for the first time, you will see a screen for choosing a registration or sign-in method.
You can use:
Google — sign in with a Google account.
Telegram — sign in with a Telegram account.
E-mail — register and sign in by e-mail.
Guest profile — enter without linking an external service.
The first time you sign in with VK ID, Google, Telegram, or e-mail a new account is created automatically.
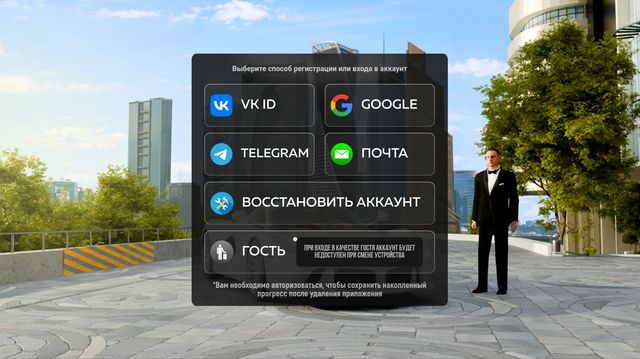
a guest profile is not linked to VK ID, Google, Telegram, or e-mail. After deleting the app or changing devices, normal access to this profile will no longer be available.
If access to a guest profile has been lost, use “Recover Account” on the sign-in screen or use the official form:
3. Launcher Main Menu
After signing in successfully, the launcher main menu will open.
Here you can:
open the project's official social media pages;
choose a game server;
press “Play” and continue to character selection.

4. Account
To view your account information, select your profile in the upper-left corner of the main menu.
This section shows the connected sign-in methods.
You can additionally connect the following to one account:
Google, VK ID, Telegram, and e-mail.
Once connected, a sign-in method cannot be unlinked.
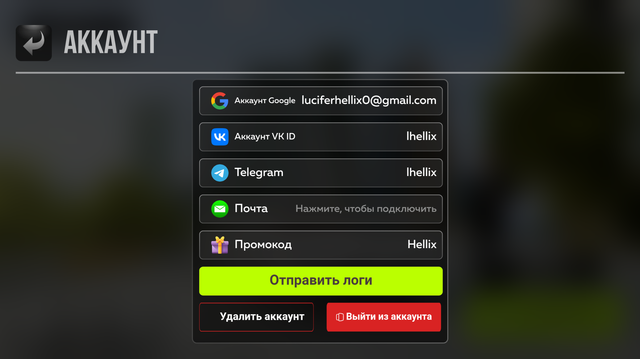
The following buttons are also available in this section:
“Sign Out” — end the current session.
“Delete Account” — delete the account.
5. Choosing a Server
Before entering the game, you must choose a server.
Select the current server name in the main menu to open the full list of available servers.
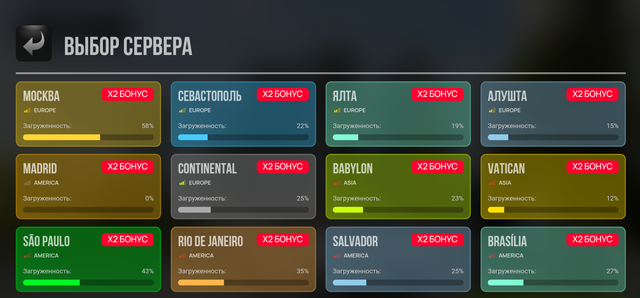
Each server card shows its name, region, and current load.
After selecting a server, return to the main screen and press “Play”.
6. Selecting or Creating a Character
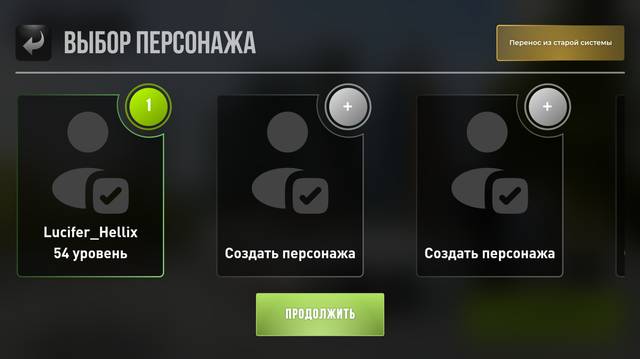
After pressing “Play” the character menu for the selected server will open.
If a character already exists, select it and press “Continue”.
To create a new character, press “Create Character”.
7. Creating a New Character
When creating a character, you must:
1. Choose the character's gender.
2. Enter a first name.
3. Enter a last name.
4. Press “Continue”.
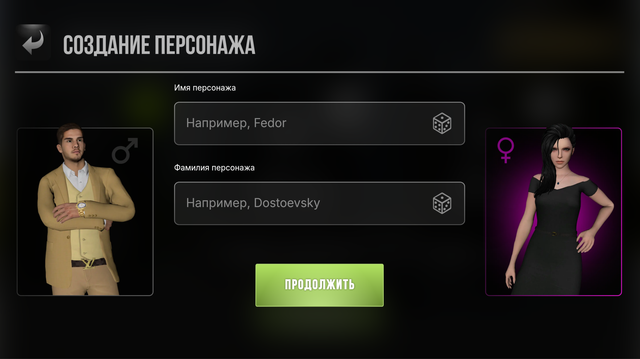
the nickname must follow the RP format and must not contain insults.
8. Transferring a Character from the Old System
If the game account was created before the new account system was introduced, it can be connected to your current account.
First, be sure to select the server where the old character is located.
Then:
1. Press “Play”.
2. In the character menu, select “Transfer from the Old System”.
3. Enter the character's old nickname.
4. Enter the password for the old game account.
5. Press “Continue”.
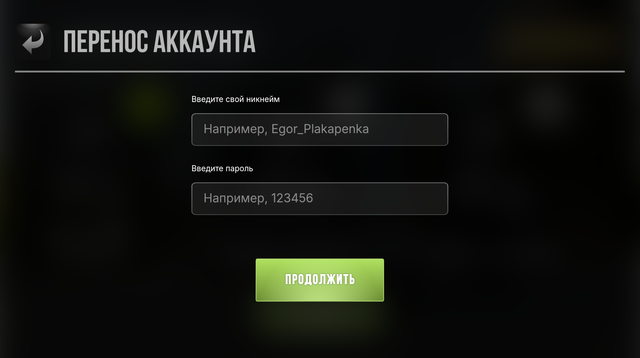
After successful verification, the character will be linked to the current account.
If the old game account is already linked to an account, it cannot be transferred to another account.
9. Connecting to the Server
After selecting a character, the game will connect to the chosen server and load the game resources.
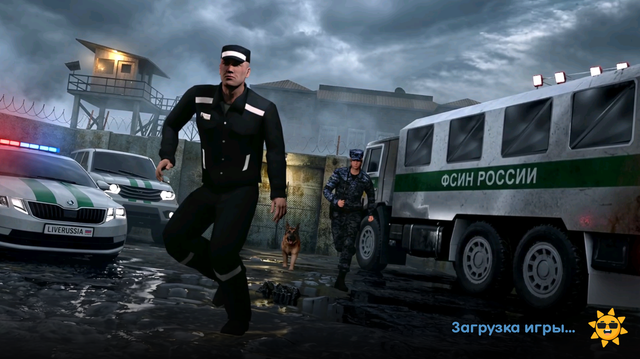
10. Choosing a Spawn Location
After connecting to the server, a spawn-location selection menu may appear.
Choose one of the spawn points available to your character and confirm your selection.
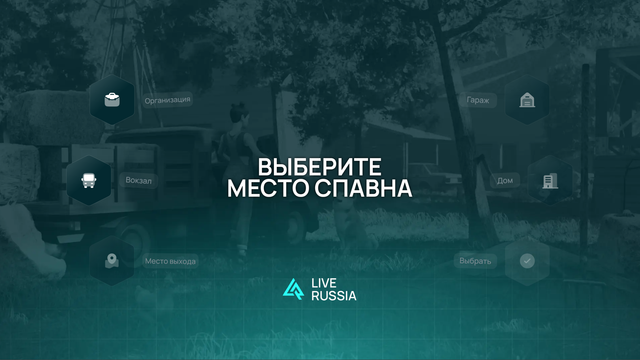
After confirmation, the character will appear in the game world and you can start playing.
Account Recovery
If access to the game account has been lost, use the “Recover Account” button in the sign-in menu.
It opens the official recovery form: